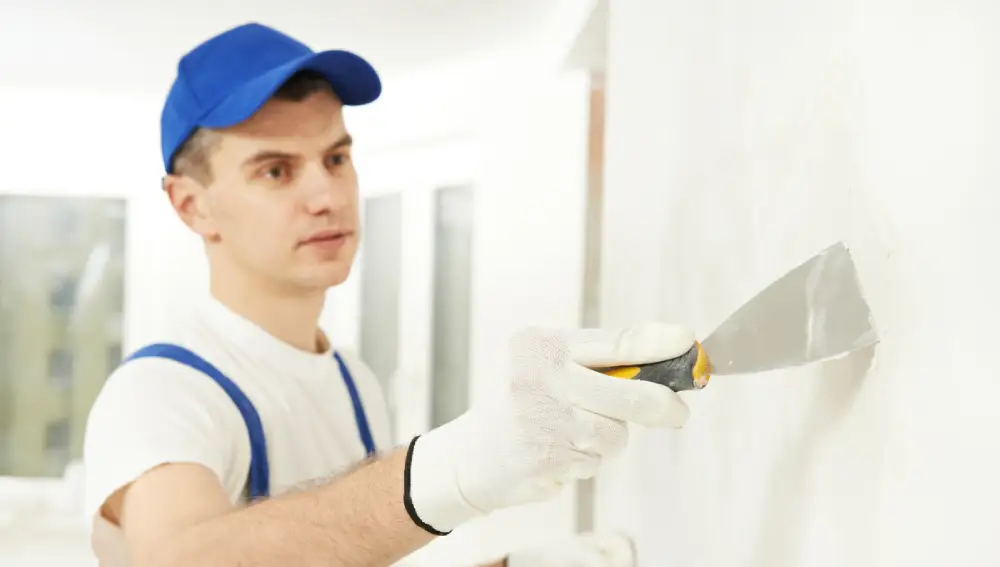
The construction process is complex, as numerous activities must be completed correctly to produce excellent outcomes. Though construction usually takes less time, adding finishing to the building’s overall appearance will take more time. To enhance the great impact of finishing, different contractors use various products. Wall putty is one of the products that is frequently used in the construction process. It is a cement-like material with high plasticity, and normal people tend to believe it is similar to Plaster of Paris or clay. However, the putty material is not identical to any of them. In this blog, we will discuss the use of putty in construction and all the essential things one must know regarding putty for better construction of their house.
What is putty in construction?
Putty is commonly used in the construction industry as a filler and sealant. It is traditionally made by combining finely powdered chalk (sometimes called whiting) with linseed oil, kneaded properly to make the consistency of dough. Putty is available in many colors and can be painted once completely dried off.
Putty is highly plastic and is frequently used in traditional single glazing to seal glass panes into wooden frames. Before painting, walls can be given a smooth, damp-resistant surface using wall putty.
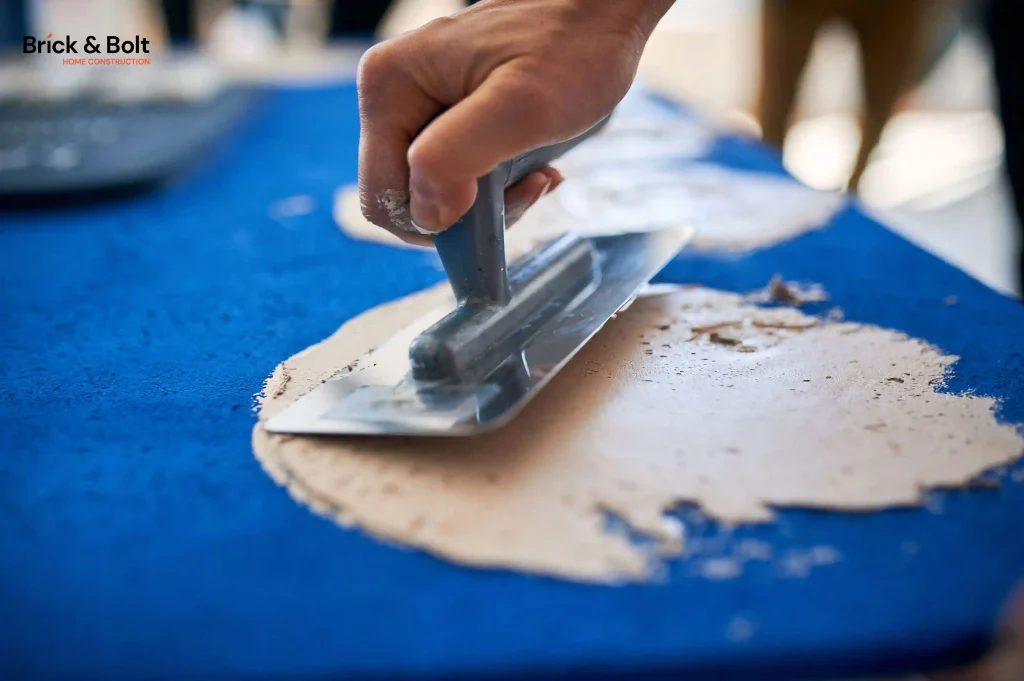
What is wall putty?
Wall putty is a cementitious material with high plasticity that looks similar to the clay texture. It offers a safe, smooth base for painting. It also serves as a filler because we can use it to fill any patches or cracks in the wall. Wall putty allows all types of colors to be applied over the walls. The benefit of wall putty is that it can be easily applied to interior and exterior surfaces, whether old or new.
Before painting any surface, two layers of putty are often used before painting any surface since the first coat fills in surface cracks and gaps, and the second coat ensures a smooth surface. Wall putty is used over different types of walls, such as dry, concrete, plaster, etc.
What are the different types of wall putty?
Numerous wall putties are available on the market based on the requirement of different purposes. However, the two types of most used wall putties are as follows:
White Cement Based Wall Putty:The most common kind of wall putty is white cement putty, which is made of fine white cement, polymer, and minerals. White cement putty provides a great binding property. It also provides a glossy, excellent, and smooth finish making it perfect for interior and exterior surfaces. Additionally, the white cement resists the dampness of the wall and is used for various decorative purposes. The white cement wall putty has high strength because cement is the main ingredient used to make the putty.
Acrylic Wall Putty: This putty is water-based and made of white pigments, acrylic emulsion, and additives. The acrylic wall putty is only used for the inside surface of the wall, and after applying the putty on the walls, it gives a matte finish and a smooth, even look. White cement putty has a higher binding property than acrylic putty.
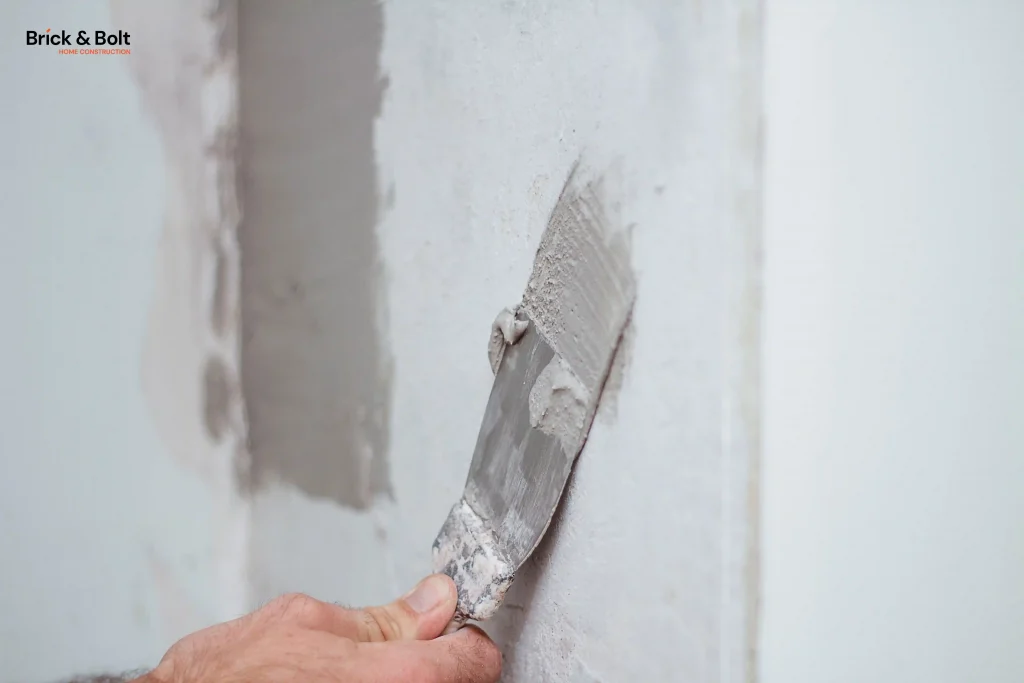
What are the advantages of wall putty?
Some of the advantages of wall putty are as follows:
1. It increases the wall’s tensile strength
2. The longevity of the wall paint is extended by wall putty
3. Wall putty helps to reduce the cost of the consumption of paints on the walls
4. Wall putty is moisture-resistant
5. It helps to provide a smoother finish to the walls
6. The wall putty does not flake off or get easily damaged
7. It gives the walls a glossy, smooth, and attractive finish that brings out the actual color of the paint
What are the disadvantages of wall putty?
There are a few disadvantages of wall putty:
1. Once hardened, it is not possible to use wall putty paste
2. Trained and skilled laborers are required to apply the wall putty to get the desired finishing
3. As mixing wall putty by hand takes more time and the material dries quickly, mechanical mixing equipment is required
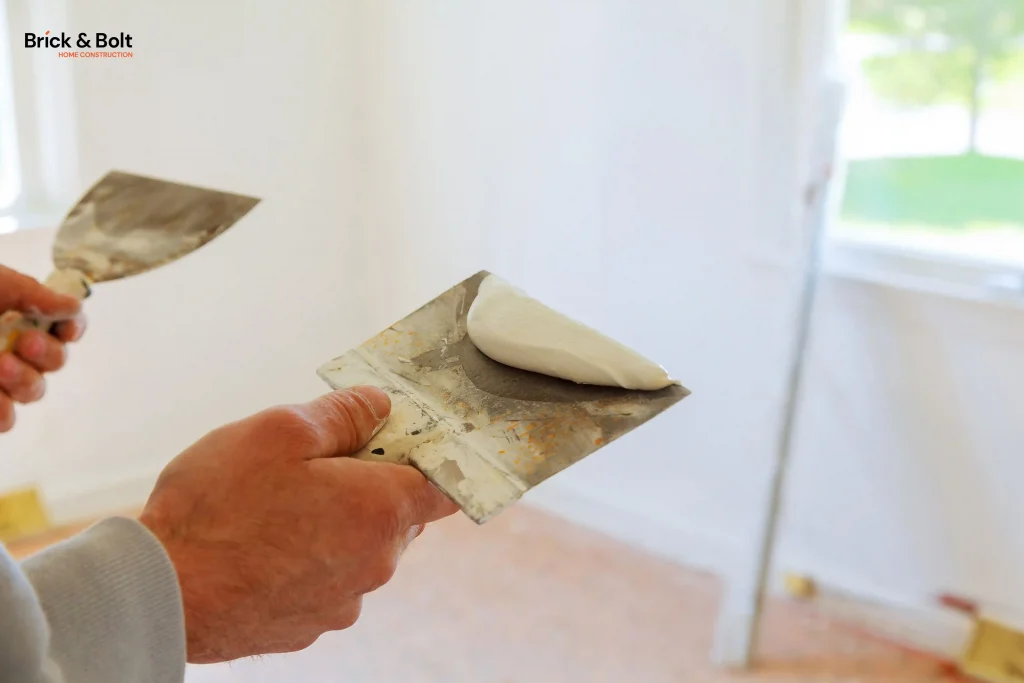
How to apply putty on walls?
The steps for applying putty on the walls are as follows:
1. At first, we need to confirm if the surface is constructed of cement or plaster, and then we have to make sure that the wall surface is thoroughly cleaned and there are no minute particles or dust present
2. The wall surface shouldn’t have grease, oil, or leaks. After cleaning the wall surface, moisten it with water and let it air dry until it feels damp. Keep the wall surface dry.
3. According to the manufacturer’s instructions, mix the putty with the necessary amount of water in a 2:1 ratio and stir it with the mixing tool for 10 to 15 minutes
4. Make sure there are no lumps in the mixture as you mix it, and after the mixture is done, it should have the consistency of a smooth, creamy paste. The mixture should be prepared in such a way that it can be used for the next 2-3 hours
5. Before applying putty, apply one layer of primer and let it dry for at least 12 to 24 hours. Some manufacturers recommend adding primer, while others do not, depending on the ingredients of putty
6. The first coat of putty must be applied from bottom to top, and it is recommended to allow it to dry for 6 to 8 hours completely
7. After that, use sandpaper to gently remove any remaining particles before applying the second coat of putty in the same manner and then let it dry completely for 6 to 8 hours
8. The thickness of the wall putty should be at most 1.5 mm. Anything thicker than that may create cracks, peel off, and take more time to dry. The drying time of the wall putty also depends on dampness and climatic conditions
What are the tools used for wall putty?
Bucket: For the convenience of mixing putty and water, a bucket is required.
Mixing tool: Putty dries more quickly, therefore a mechanical mixing tool speeds up the process and reduces the chance of lump formation
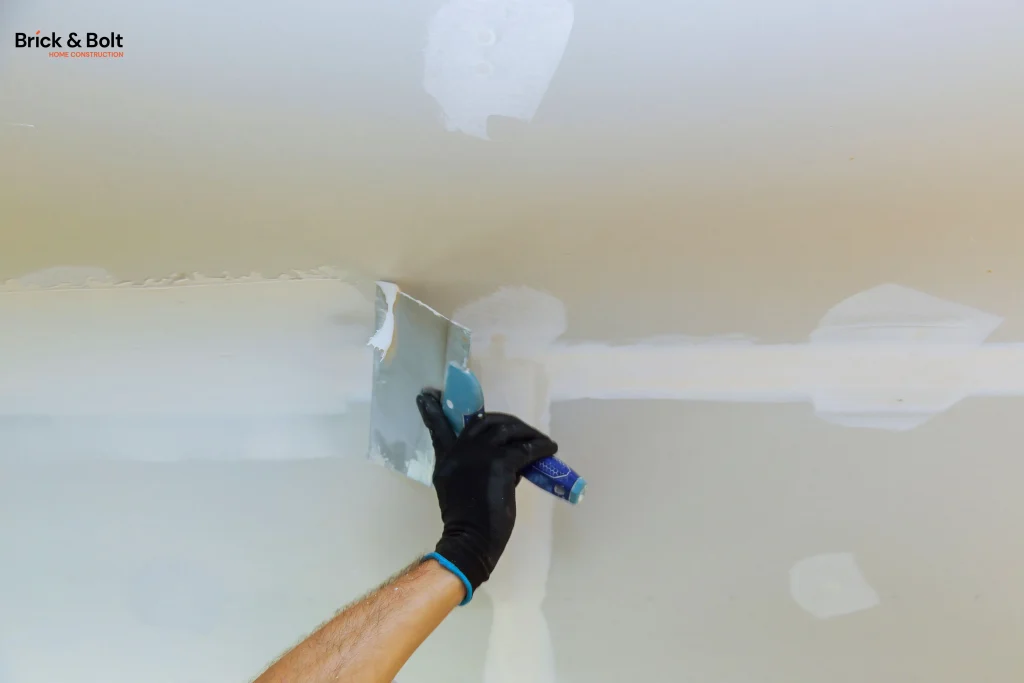
Wall putty blade: This tool is used to apply and spread putty evenly on walls. Consequently, a smooth surface will be created
Sandpaper: After the putty is fully dried, sandpaper is rubbed on the surface of the wall to make sure there are no minute particles or uneven surface patches.
How to mix wall putty?
It’s relatively easy to mix wall putty. A bucket and some water are required to produce wall putty paste. Two parts of wall putty and one part of water are required because the mixing ratio must be 2:1. After that, stir those materials thoroughly. As the wall putty paste is made, we can apply the putty with a flat tool.
Do we need to put primer after wall putty?
There are different opinions regarding this answer. Many people think that the surface where we will work must be cleaned first. After that, it is suggested to apply primer to the surface. After this step, one should apply the wall putty.
However, the use of primer is optional after applying wall putty. Primer is utilized to ensure that the paint has a stable base for proper adhesion. It is optional to put a primer on a surface before painting as the wall putty already creates a surface ideal for painting.
Are wall putty and plaster the same?
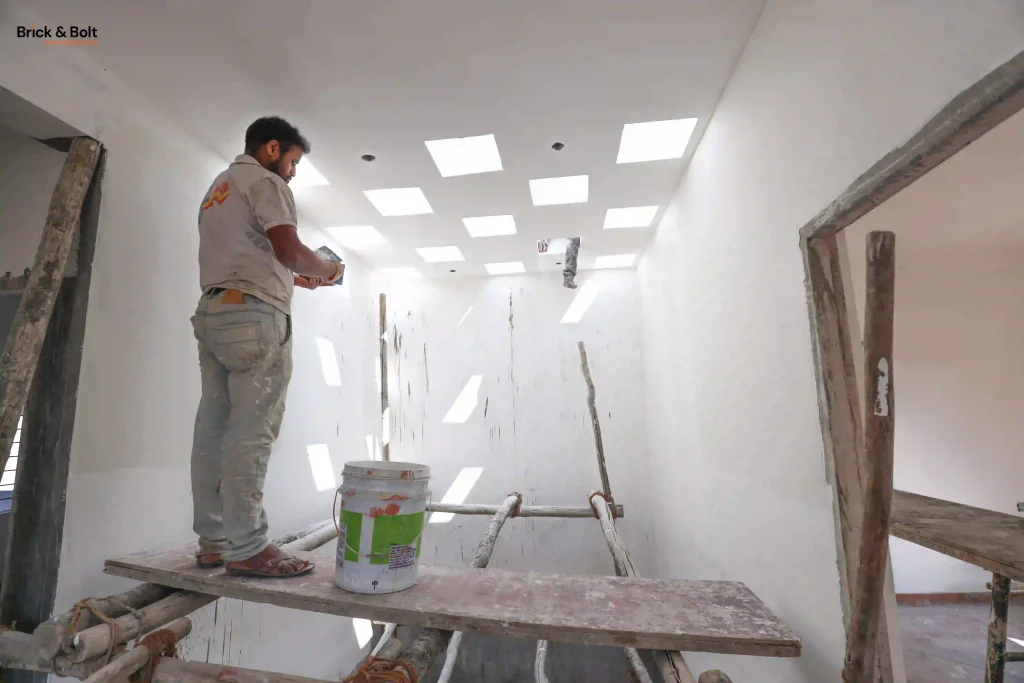
Wall putty is used to fill the pores in walls and ceilings. Putty can be easily and quickly applied for minor work using a spray or brush. In contrast, plaster is a whitish powder that, when mixed with water, hardens into a material that may be used to make sculptures and casts and added to lime plasters to create casts for broken limbs.
Conclusion:
The best quality of your living can be enhanced with the best possible construction standard. From that perspective, choosing the right wall putty can be important in constructing your dream home.
As you know, wall putty is essential for highlighting the elegance and flawlessness of your wall painting. You should now be able to achieve that seamless appeal just by connecting with India’s no 1 tech-enabled construction company Brick&Bolt.
We provide the necessary tools and expertise to meet your painting requirements for residential and commercial properties.
To know more about our service or to get a free quote, call us at +91 7505 205 205

